
Pushbot Build Guide
Pushbot Building Guide: How to Build a Pushbot
The FTC Starter Kit from Studica Robotics includes all the items needed to complete this pushbot build. This kit is available at https://www.studica.ca/en/ftc-starter-kit-2
These build instructions will walk you through the steps of building your pushbot robot. View as a PDF.
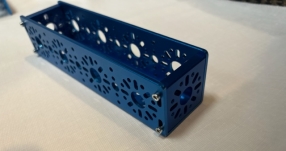
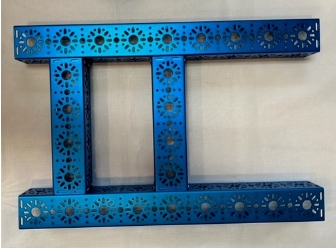
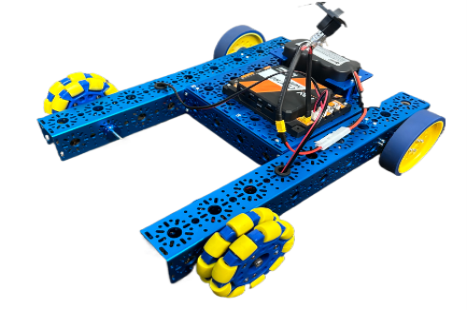
This is an example of what a completed pushbot will look like.
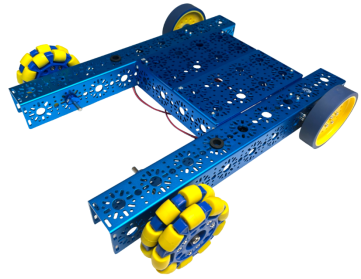
Table of Contents:
- Parts List:
- Structure
- Motion
- Hardware
- Pushbot Building Instructions:
- Frame Assembly
- Motion Components
- Final Assembly
- Adding Controller and Battery
- Code for FTC (Blocks)
Parts List:
Structure:
|
Description |
Part # |
Quantity |
|
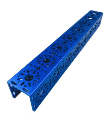
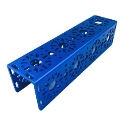
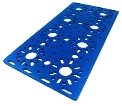
432mm U-Channel
|
2 |
|
|
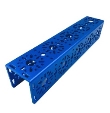
240mm U-Channel
|
2 |
|
|
192mm U-Channel
|
2 |
|
|
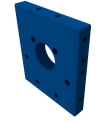
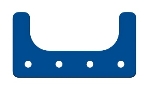
End Piece Plate (2 Pack)
|
4 |
|
|
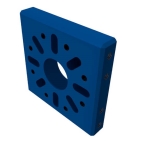
Motor Mount Plate
|
2 |
|
|
U-Channel Bumper (4 Pack) |
4 |
|
|
192mm x 96mm Flat Bracket |
2 |
|
|
Battery Clip (2 pack)
|
2 |
Motion:
|
Description |
Part # |
Quantity |
|
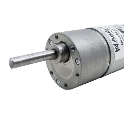
NeveRest Classic 40 Gearmotor |
2 |
|
|
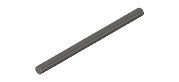
6mm x 96mm D-Shaft (6 pack) |
4 |
|
|
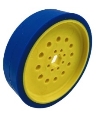
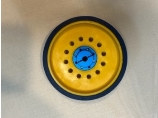
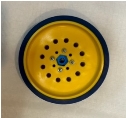
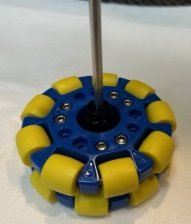
100mm Drive Wheel. 50A, 25mm, ½” Inner Hex, Blue |
2 |
|
|
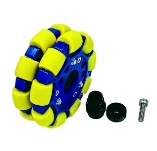
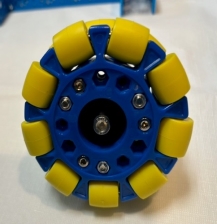
Omni Wheel (100mm, Double Plastic, w/6mm Hub)
|
2 |
|
|
6mm D-Shape Collar Clamp |
4 |
|
|
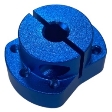
Clamping Shaft Hub – v2
|
2 |
|
|
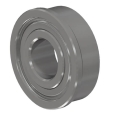
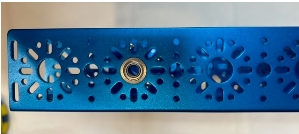
Flanged Ball Bearing 6mm ID, 14mm OD, 15mm FOD (12 pack)
|
8 |
|
|
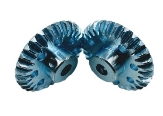
30 Tooth Bevel Gear, 1 to 1 Set (2 Pack) |
4 |
Hardware:
|
Description |
Part # |
|
1mm Thick 3M Screw Spacer (25 Pack) |
|
|
2mm Thick 3M Screw Spacer (25 Pack) |
|
|
M3 x 10mm Socket Head Cap Screw (100 pack) |
|
|
M3 x 12mm Socket Head Cap Screw |
|
|
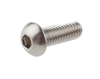
Me x 10mm Button Head Cap Screw (50 Pack)
|
|
|
M3 Kep Nut (Pack of 100)
|


Pushbot Building Instructions:
Frame Assembly:
- Screw two End Piece Plates to the ends of the 192mm U-Channel. Use the M3 x 10mm Button Head Cap Screws
- Repeat for other 192mm U-Channel
- Note: The 240mm U-Channels are listed in the component list. With the SR FTC Starter Kit, you can choose to build your drivebase in a variety of ways. The 192mm U-Channels used in this build create a slimmer base, you can also use different components like the 240mm U-Channel listed to make the base wider, depending on how you are building other mechanisms.
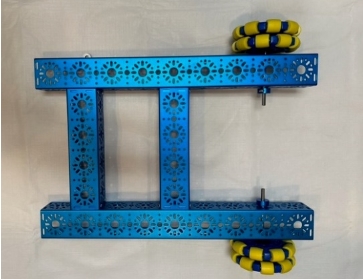
- Connect the 432mm U-Channels with the two 192mm U-Channels as shown below:
- Use the M3 x 10mm Socket Head Cap Screw
- This is done on purpose so the 192mm x 96mm Flat Brackets can lay across the frame perfectly later in the build.
Motion Components:
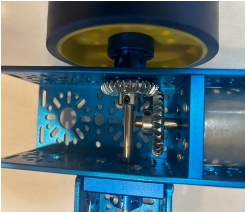
- Connect the Motor Mount Plates to the NeveRest Classic 40 Gearmotor from AndyMark.
Use the M3 x 10mm Button Head Cap Screws. - Slide one of the 30 Tooth Bevel Gears onto the shaft of the NeveRest gear motors.
- Gears should be close to flush with the end of the shaft.
- Screw the v2 Clamping Shaft Hubs onto the Drive Wheels using the M3 x 12mm Socket Head Cap Screws
- Slide the 6mm x 96mm D-Shafts into the shaft hubs so that they are about flush with the hubs and tighten.
Final Assembly:
- Place Flange Bearings in the 432mm U-Channel, where the wheel shafts will be inserted.
- Insert Omni Wheels through the Bearings with spacers between the bearing and shaft hubs.
- On the other end of the shafts, clamp on the 6mm D-Shaft Clamps with a spacer between the clamps and bearings.
- Place the wheel shaft through the bearing and a 30 Tooth Bevel Gear, with a spacer in between the Shaft Hub and Bearing
- The Gear should be right about on the U-Channel plate and tightened.
- On the other end of the shafts tighten the D-Shaft Clamps
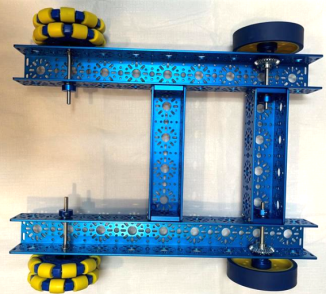
- The motors will recess into the 432 U-Channel frames, adjust the position accordingly so the Bevel Gears mesh well and screw the motor mount plates into the 432mm U-Channel using the M3 x 12mm Socket Head Cap Screws
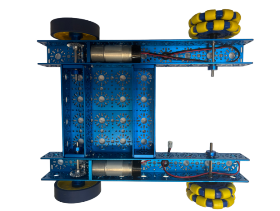
- Place the two 192mm x 96mm Flat Brackets across the middle U-Channels of the drive base and screw them together using the M3 x 12mm Socket Head Cap Screws
Adding Controller and Battery:
Each robot build and its additional mechanisms are unique, so there is no definitive position for the controller and battery. It is up to the user or team to determine the most optimal position for these parts for a functional operation. FTC Teams, the REV Controller will be used.
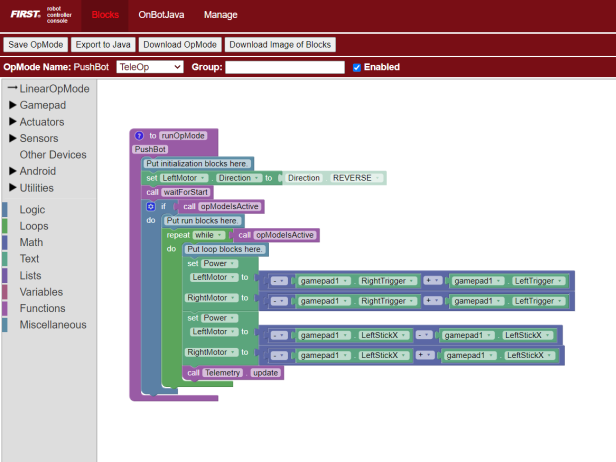
Code for FTC (Blocks):
Here is the Blocks code to make the pushbot move. The Right and Left Triggers on the controller create forward and backward movement, while the left stick is used for right and left turns.